

How To Cut An Image Along Lines In Photoshop
Learn everything you demand to know virtually cropping images with the Crop Tool in Photoshop, including how to ingather images not-destructively! At present updated for Photoshop 2021.
In this first tutorial in my serial on cropping images, I prove you lot how to crop images, how to straighten images, and how to crop an image non-destructively with Photoshop. We'll start with the basics and learn how to crop images using the Crop Tool. Then we'll learn how to straighten an image with the Ingather Tool. And finally, we'll look at a great feature that lets you crop an image without losing whatsoever of the original pixels!
I'yard using Photoshop 2021 just y'all can follow along with any recent version.
Let's get started!
How to ingather images with the Crop Tool
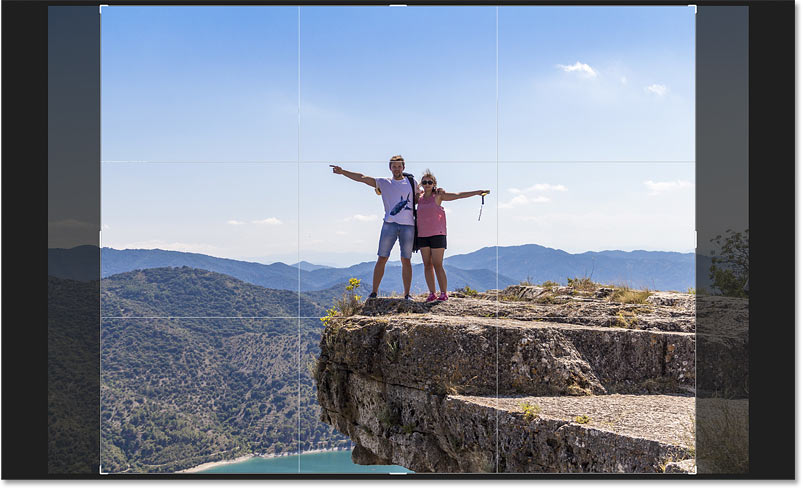
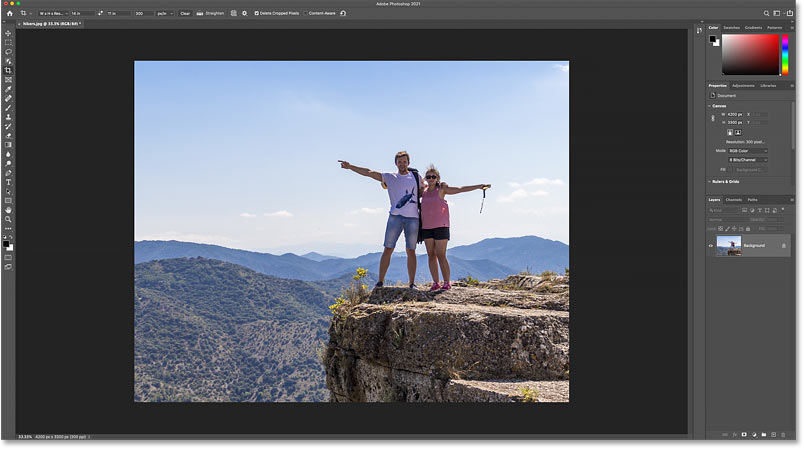
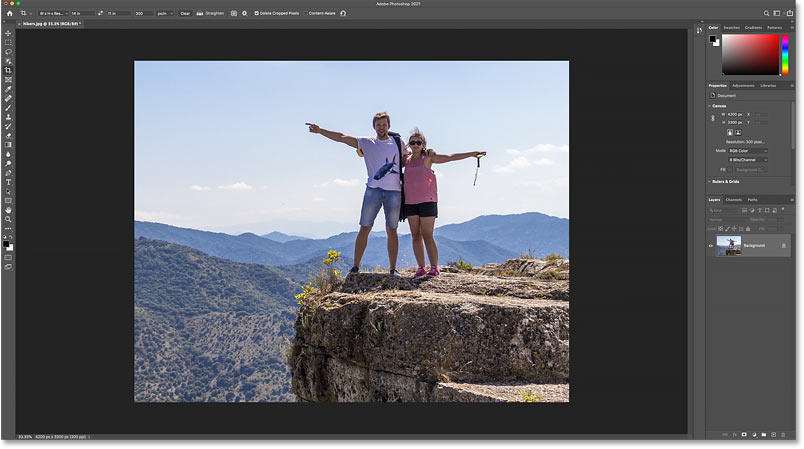
Let's showtime with the nuts. I'll use this image from Adobe Stock:
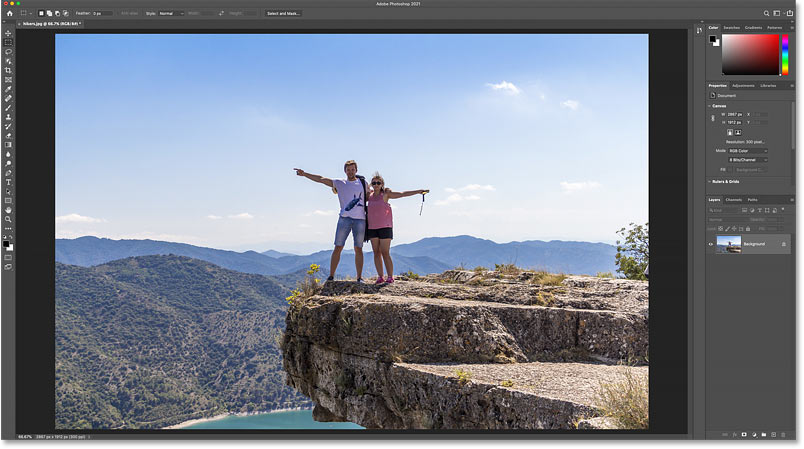
The original image. Photograph credit: Adobe Stock.
Selecting the Crop Tool
To ingather an image in Photoshop, we utilize the Crop Tool which is found in the toolbar. The Crop Tool tin also be selected from your keyboard by pressing the letter C:
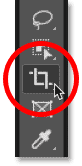
Selecting the Crop Tool.
The cropping edge
As soon equally you select the Crop Tool, Photoshop places a cropping edge around the image. And if you've used the Ingather Tool on a previous image, the border will initially be gear up to that previous size.
In the Options Bar, we come across that my terminal image was cropped as an 8 x ten:
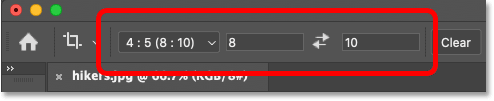
Photoshop automatically loads the previous Crop Tool settings.
And in the certificate, the cropping border appears at that 8 ten ten aspect ratio. Nosotros'll look at all of this in more than detail in moment:
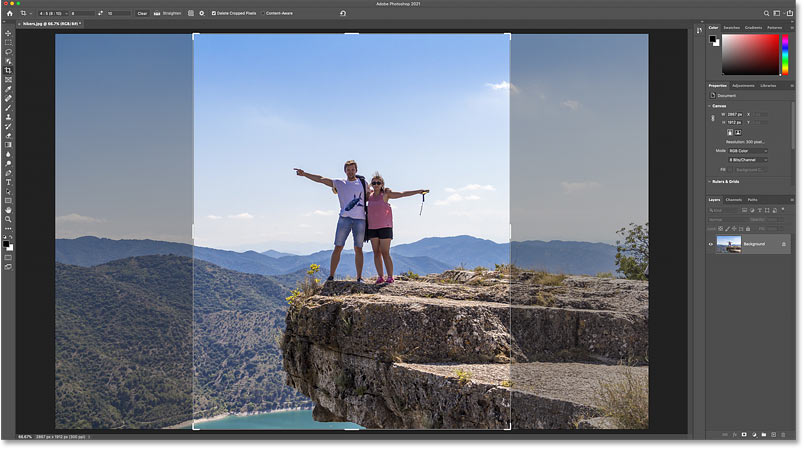
The cropping edge is prepare to the previous aspect ratio.
How to reset the Crop Tool
Earlier we become whatsoever further, let's reset the Crop Tool to its default settings. In the Options Bar, right-click (Win) / Control-click (Mac) on the tool icon:
Right-clicking (Win) / Control-clicking (Mac) on the tool icon.
And choose Reset Tool from the menu:
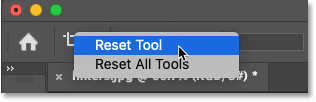
Resetting the Crop Tool.
This resets the aspect ratio to Ratio and leaves the Width and Height boxes empty:
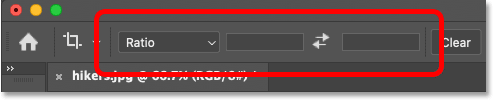
The default Crop Tool settings.
Related: How to reset your tools and toolbar in Photoshop
How to reset the crop border
But notice that resetting the Ingather Tool did not reset the cropping edge itself, which is still set to that previous 8 x 10 size:
Resetting the Ingather Tool options did not reset the cropping border.
To reset the border, choose a different tool from the toolbar (any tool will do) and so reselect the Crop Tool.
The cropping border at present surrounds the entire image:
The cropping border itself has been reset.
How to resize the ingather border
If you look around the border, y'all'll meet crop handles. In that location's one on the pinnacle, lesser, left and correct, and ane in each corner:
The handles around the crop edge.
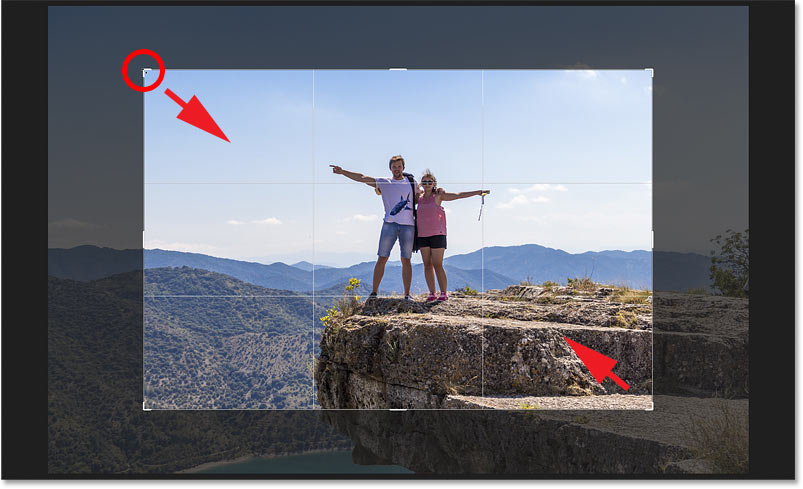
Click and drag the handles to reshape the crop border into any size yous demand. The area within the border is what you'll proceed while the faded area outside the border will be cropped away:
Dragging the handles to resize the border.
How to reposition the image within the crop border
You can also click and drag inside the edge to reposition the prototype. As y'all drag, the crop border will remain in identify while the image moves around inside it:
Repositioning the paradigm inside the crop border.
How to cancel the crop
To abolish the crop without applying it, click the Cancel button in the Options Bar. I'll cancel it and then we can expect at another way to work:

Clicking the Cancel button.
Drawing your own ingather edge
Instead of using the initial crop border that Photoshop places around the image, yous can also click anywhere within the image and drag out your own border:
Clicking and dragging a crop border manually.
Then drag the handles to resize it, or click and drag inside the border to reposition the image:
Adjusting the ingather afterward drawing the border.
How to reset the crop border
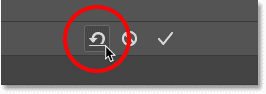
To reset the border without canceling the crop completely, click the Reset button in the Options Bar:
Clicking the Reset button.
How to lock the aspect ratio of the crop border
By default, Photoshop lets u.s. resize the crop border freely without caring about the aspect ratio. To continue the original aspect ratio of your image, printing and hold the Shift key on your keyboard as you elevate whatever of the corner handles. This locks the aspect ratio in place:
Hold Shift and elevate a corner handle to lock the attribute ratio of the border.
I'll click the Reset button once more to reset my ingather:
Clicking the Reset push button.
How to resize the crop edge from its center
To resize the border from its center, press and concord the Alt (Win) / Option (Mac) key on your keyboard equally yous drag a handle.
Here I'm dragging the left side handle while the right side handle moves forth with it:
Hold Alt (Win) / Option (Mac) to resize the crop border from its center.
I'll click the Reset button to reset information technology:
Resetting the crop.
How to lock the aspect ratio and resize from center
And to lock the aspect ratio and resize the edge from its heart, hold the Shift key and the Alt (Win) / Option (Mac) central every bit you lot drag the corner handles:
Concord Shift plus Alt (Win) / Option (Mac) to lock the aspect ratio and resize from center.
How to crop an image to a specific attribute ratio
If you need to crop to a specific attribute ratio, similar v 10 7 or viii ten 10, yous tin set the aspect ratio in the Options Bar.
Choosing a preset aspect ratio
For mutual aspect ratios like viii 10 10, click the Aspect Ratio option:
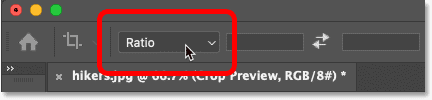
Clicking the Aspect Ratio option in the Options Bar.
And then choose from a list of presets, like ane:one for a square, or 8:10, 4:6, and and then on. I'll choose eight:10:
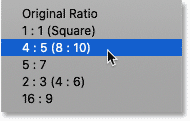
Choosing 8:10 from the Aspect Ratio menu.
Photoshop enters the aspect ratio into the Width and Height boxes. In my example, it entered 4 ten 5 which is the same every bit 8 ten 10:
The preset is entered into the settings.
And every bit soon as I select information technology, my cropping border jumps to the eight x 10 ratio:
The crop edge instantly switches to the called aspect ratio.
Swapping the crop orientation
To bandy the Width and Height values, click the swap icon (the two arrows) between them:
Swapping the Width and Summit values.
This lets you easily switch betwixt Portrait and Mural mode:
The crop border updates with the new orientation.
Choosing a custom attribute ratio
If the aspect ratio you need is not found in the presets, you can enter it manually.
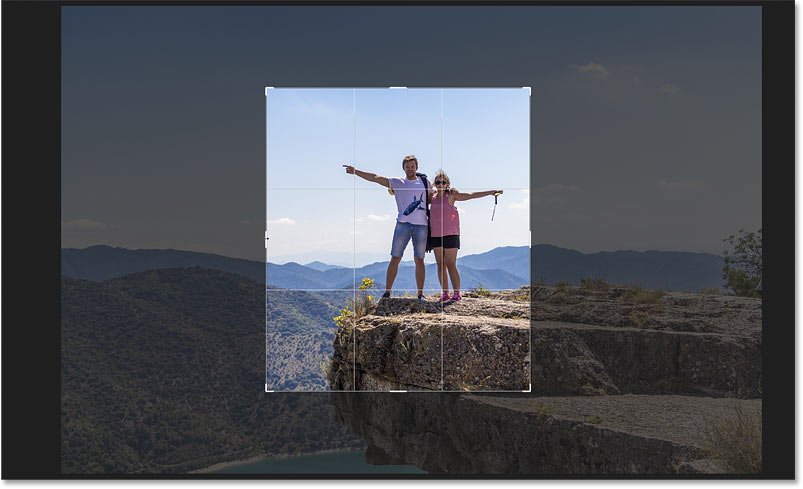
Let's say I want to crop my image as an 11 x fourteen and I want it to exist in Mural mode then that the width is larger than the elevation. I'll click inside the Width box and enter 14. Then I'll press the Tab key on my keyboard to jump over to the Height box and I'll enter 11:
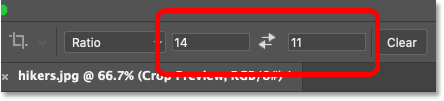
Inbound a custom aspect ratio.
Photoshop instantly resizes the crop border to the xi x xiv ratio:
The custom aspect ratio.
With a specific aspect ratio entered, there'south no need to concord Shift as you elevate the handles to lock the aspect ratio in place. Merely you can still hold the Alt (Win) / Option (Mac) key to resize the edge from its center:
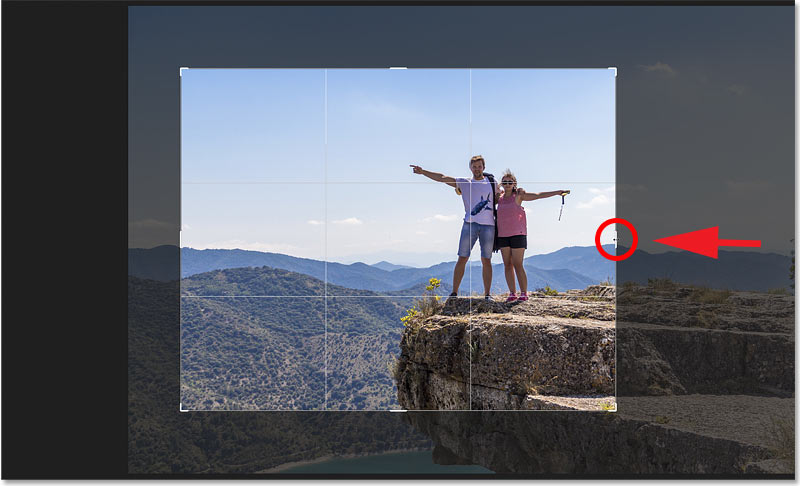
Resizing the ingather border.
How to relieve a custom crop preset
If you'll need the same aspect ratio once more, you can relieve it as a custom preset. Click the Aspect Ratio option in the Options Bar:
Clicking the Aspect Ratio option.
And in the menu, cull New Ingather Preset:

Choosing "New Crop Preset".
Give the preset a name. I'll name mine "xi x 14 Landscape". And so click OK to shut the dialog box:
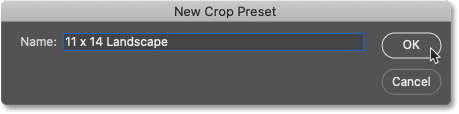
Naming the new preset.
The next time you demand the preset, just click the Aspect Ratio option and cull information technology from the list:
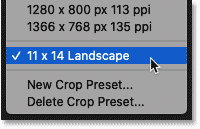
The new custom crop preset.
Immigration the aspect ratio
To go back to resizing the crop border freely after entering a specific aspect ratio, clear the attribute ratio by clicking the Clear button:

Immigration the electric current aspect ratio settings.
You lot tin then drag the handles independently:
Resizing the crop border without existence locked to an attribute ratio.
How to crop to a specific image size and resolution
So far, nosotros've been cropping to a general aspect ratio, or a full general shape. But the Ingather Tool can likewise be used to crop your image to a specific size and resolution. To do that, open up the Aspect Ratio carte du jour:
Opening the Aspect Ratio menu.
And then cull W x H x Resolution (Width, Elevation and Resolution):
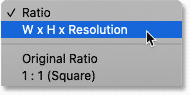
Choosing "W ten H x Resolution" from the carte du jour.
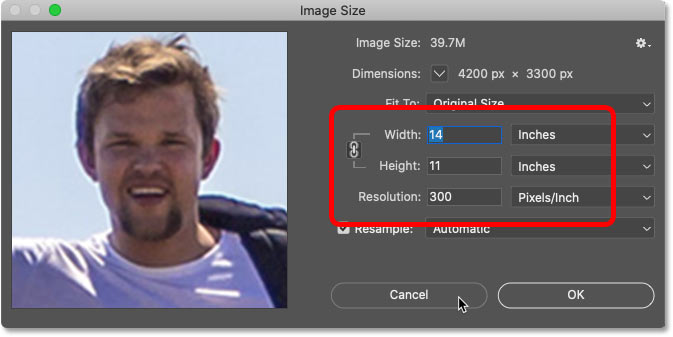
Instead of cropping my image to an 11 x fourteen attribute ratio, let'southward say I want to crop it and then that it volition print at a specific size of 11 x xiv inches. Since I want the width to be larger than the meridian, I'll click within the Width field and I'll enter fourteen. Only instead of just entering the number, I'll also enter "ïn" (for "inches"). Then I'll press the Tab key on my keyboard to jump to the Superlative field, and I'll enter 11 in for the peak:

Entering a specific size for the width and pinnacle, in inches.
The Resolution value
Observe that we now have a third box as well, and this is where nosotros enter a Resolution value. Since the manufacture standard resolution for high quality printing is 300 pixels per inch, I'll enter 300 into the box, and I'll make sure that the measurement type is set to px/inch (pixels per inch):

Entering a impress resolution of 300 pixels per inch.
With my settings entered, I'll resize the crop border:
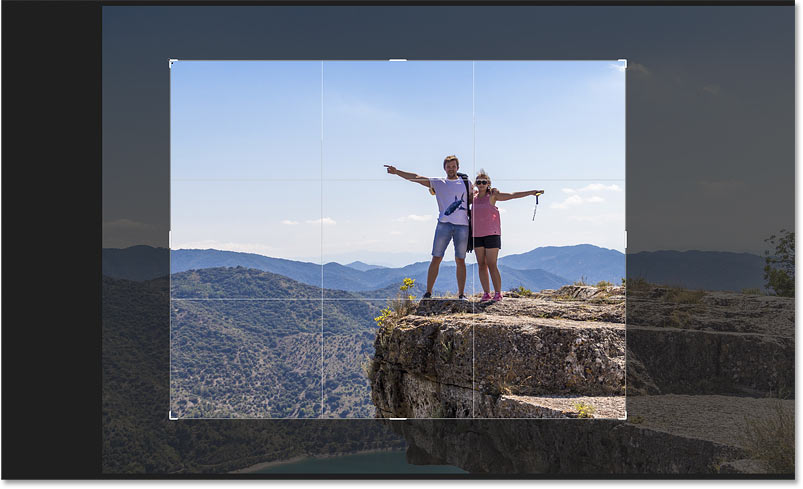
Cropping the image to a impress size of 11 x 14 inches.
How to commit the crop
Then to crop the paradigm, I'll click the checkmark in the Options Bar. Y'all tin can also ingather it by pressing Enter (Win) / Render (Mac):
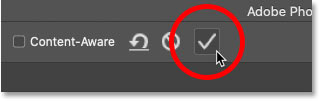
Cropping the epitome by clicking the checkmark.
And Photoshop crops the image:
The paradigm after accepting the crop.
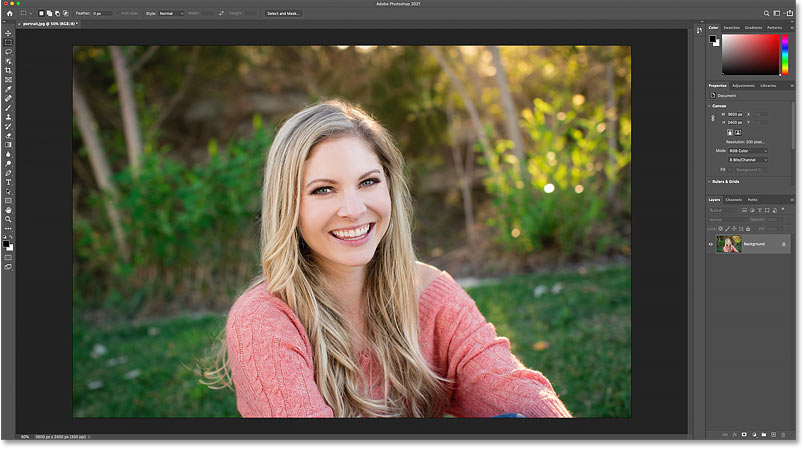
Checking the image size
To cheque the size and resolution of your cropped paradigm, go up to the Prototype menu and choose Image Size:
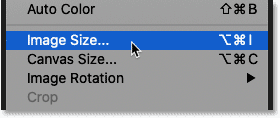
Going to Image > Image Size.
And in the Epitome Size dialog box, we see that Photoshop has in fact cropped it to fourteen 10 eleven inches at a resolution of 300 pixels per inch. Click Cancel to close the dialog box:
Confirming the new crop size in the Image Size dialog box.
How to undo the ingather
To undo the ingather, go up to the Edit menu and choose Undo Crop. Or press the keyboard shortcut Ctrl+Z (Win) / Command+Z (Mac):
Going to Edit > Undo Crop.
This returns the image to its original size:
The image is back to its original size.
The crop overlay
Earlier nosotros motion on to learning how to straighten an image, allow's look at one more handy feature of the Crop Tool, and that's the crop overlay.
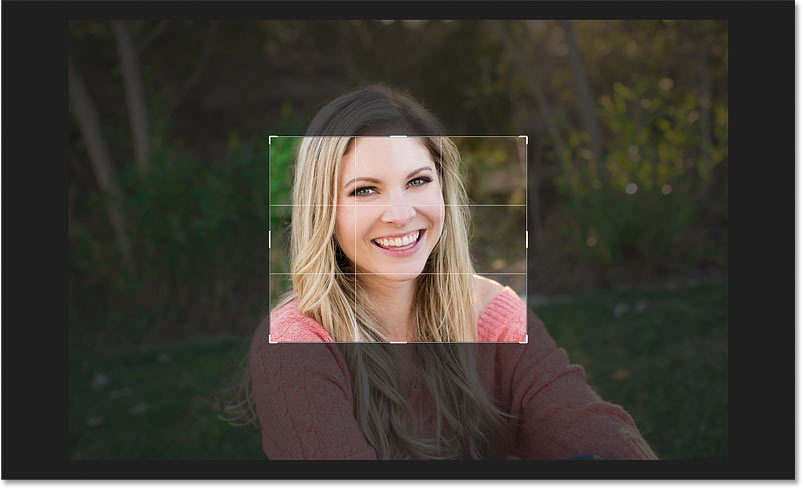
I'll click on my epitome with the Crop Tool to bring upwards the cropping border. And notice the 3 x iii grid that appears inside the edge. This grid is known equally the Rule of Thirds:

The 3 x 3 "Rule of Thirds" grid within the crop border.
The Rule of Thirds
The thought with the Rule of Thirds is that you can create a more interesting limerick by placing your subject area at, or about, i of the spots where the filigree lines intersect:
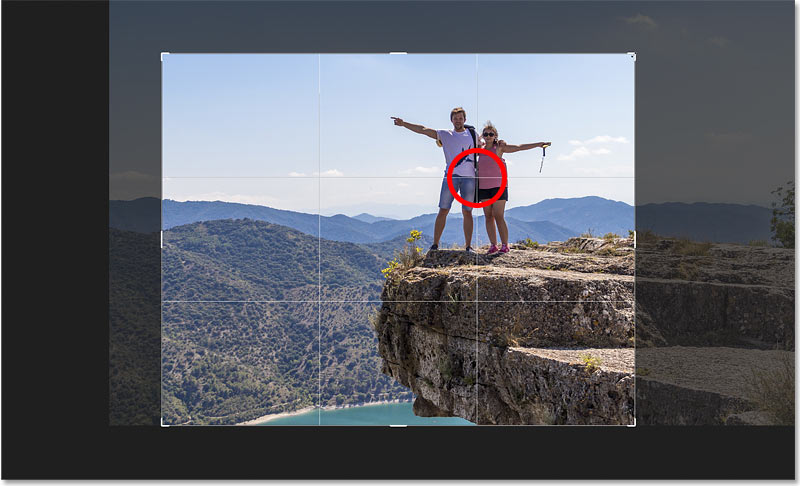
Composing the crop using the Rule of Thirds grid.
Choosing a dissimilar overlay
While the Rule of Thirds can exist useful, it's not the only overlay that'due south available to us. To view the others, click the Overlay icon in the Options Bar:
Clicking the Overlay icon.
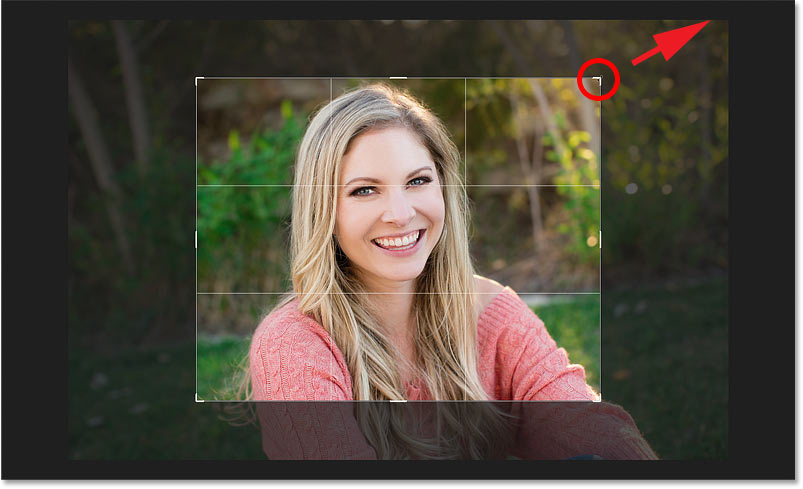
Here we can choose from several overlays, like Gilt Ratio:
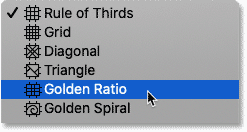
Choosing the Golden Ratio grid overlay.
The Golden Ratio is similar to the Rule of Thirds, but the intersection points are closer to the middle which oft creates a more natural result:
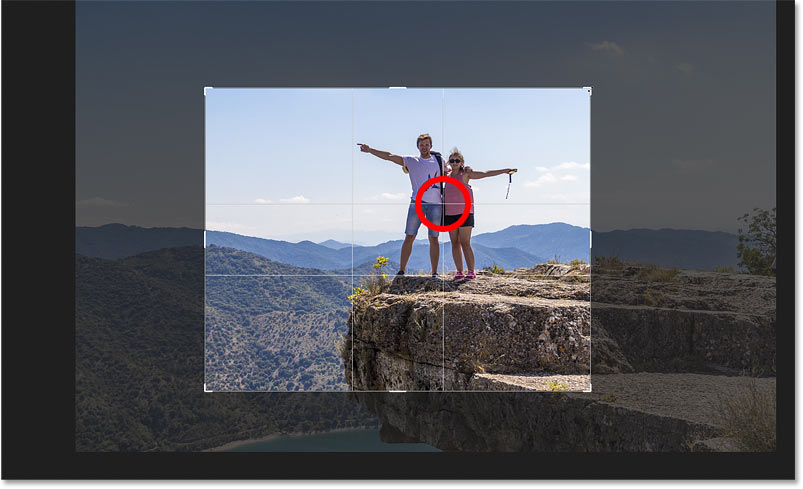
Composing the ingather using the Gold Ratio overlay.
Yous can bicycle through the overlays from your keyboard past pressing the letter O. And y'all can flip the orientation of certain overlays, similar Triangle and Golden Spiral, by pressing Shift+O.
Finally, another way to commit the crop is to just double-click within the crop border:
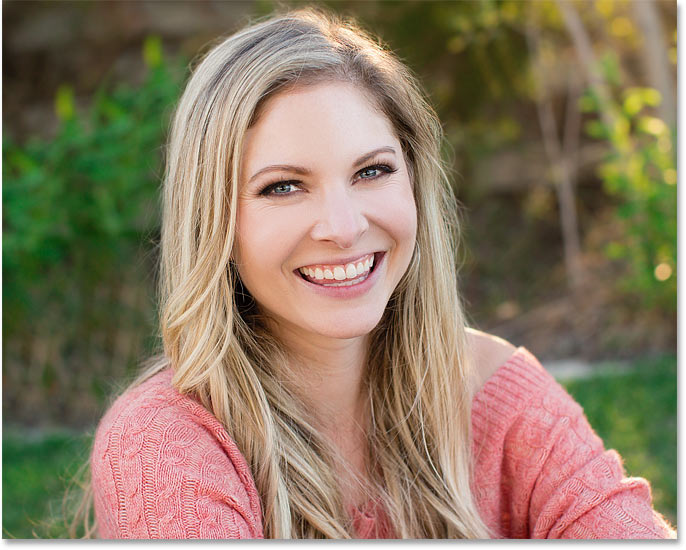
The image cropped using the Gilt Ratio.
Related: How to crop images in a circumvolve!
How to straighten an prototype with the Ingather Tool
So that's the basics of how to crop an image with the Crop Tool in Photoshop. Next we'll learn how the Ingather Tool can also be used to rotate and straighten an prototype.
Here'southward an image I shot myself, and notice that the horizon line is crooked:
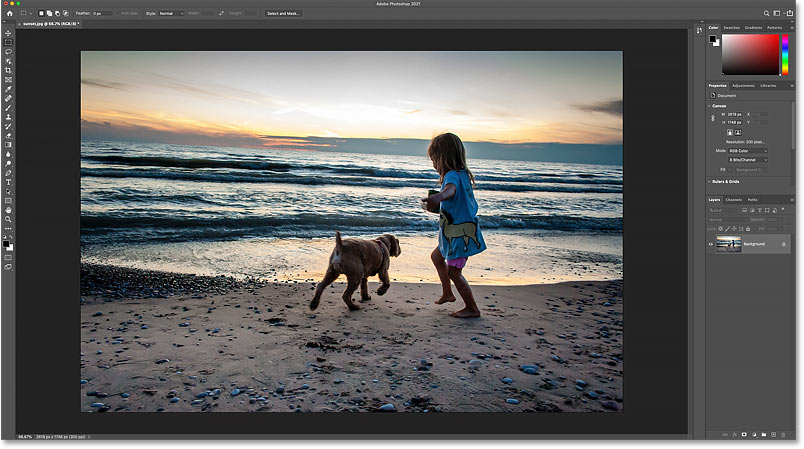
The horizon line shows that the paradigm is slanted.
Selecting the Straighten Tool
To straighten an image, we tin use Photoshop'south Straighten Tool. The Straighten Tool is merely available when the Crop Tool is active, and information technology's really more than of a feature than an bodily tool.
First, select the Ingather Tool from the toolbar:
Selecting the Crop Tool.
And then in the Options Bar, select the Straighten Tool:
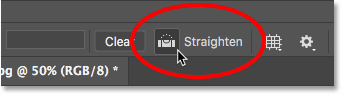
Selecting the Straighten Tool.
How to employ the Straighten Tool
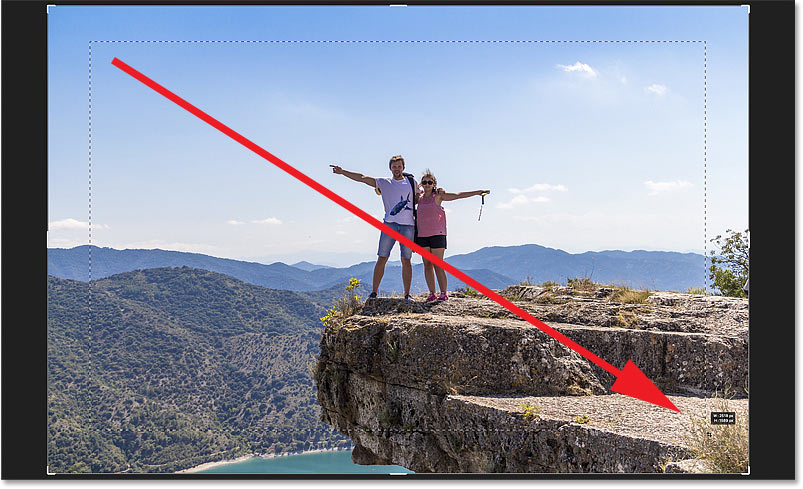
Expect for something in your image that should be straight, either vertically or horizontally. In my case, it's the horizon line. Click on one terminate, go along your mouse button held down, and drag over to the other end.
Photoshop draws a path between the two points, and it uses this path to determine the angle that the paradigm needs to exist rotated:
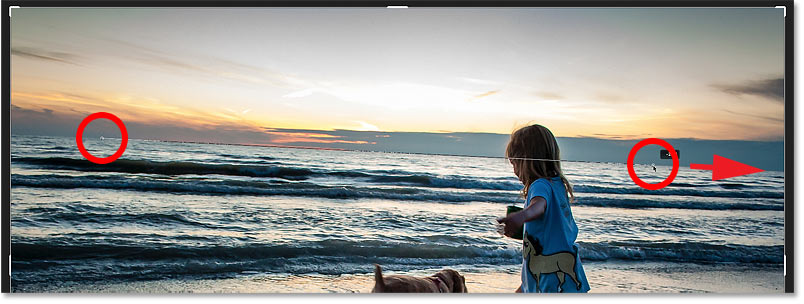
Dragging a line across the horizon with the Straighten Tool.
Release your mouse push button, and Photoshop rotates the image to straighten information technology. And because rotating the image created some transparent areas in the certificate'south corners (indicated by a checkerboard pattern), Photoshop as well resized the ingather border to keep those transparent corners out of the result:
Photoshop straightens the image and resizes the crop border.
Y'all tin can then resize the border if needed by dragging the handles. Hold Shift and elevate a corner handle to lock the original aspect ratio, or drag within the border to reposition the epitome:
Manually resizing the crop border after straightening the image.
To accept information technology and crop the image, click the checkmark in the Options Bar, printing Enter (Win) / Return (Mac) on your keyboard, or double-click inside the ingather border:
The straightened and cropped epitome.
And that'south how to straighten an image with the Ingather Tool. I cover more ways to straighten an image in a carve up tutorial.
How to ingather images non-destructively
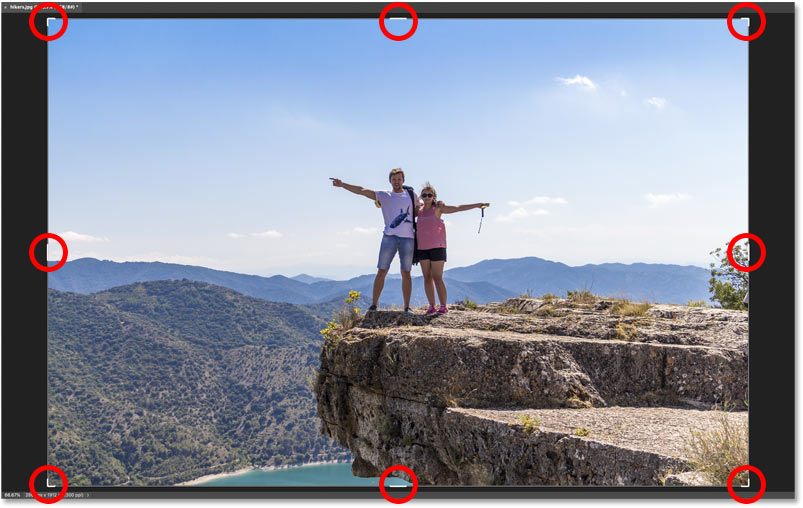
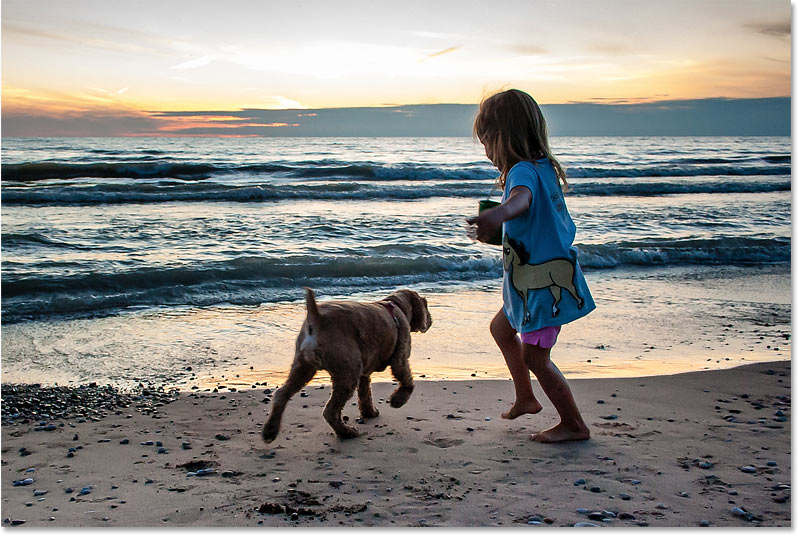
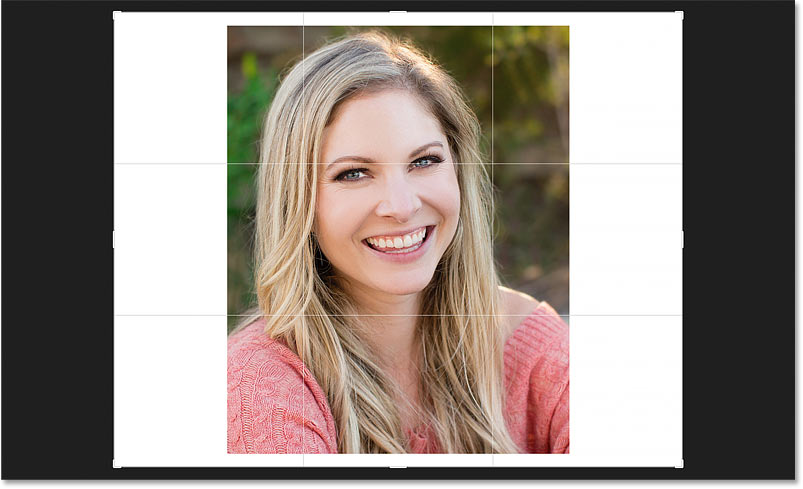
Finally, permit's switch over to a third image so we can look at a great feature of the Ingather Tool that lets u.s. crop our images non-destructively. I'll use this image from Adobe Stock:
The original image. Photo credit: Adobe Stock.
Again, I'll select the Crop Tool from the toolbar:
Selecting the Crop Tool.
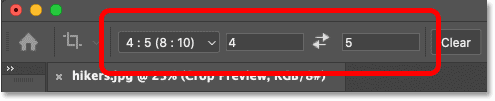
In the Options Bar, I'll choose the 8 x 10 aspect ratio preset:
Choosing the viii 10 x preset.
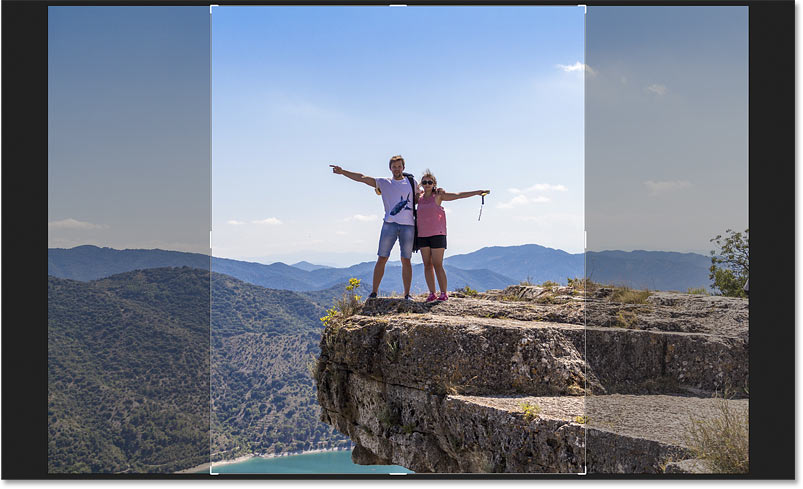
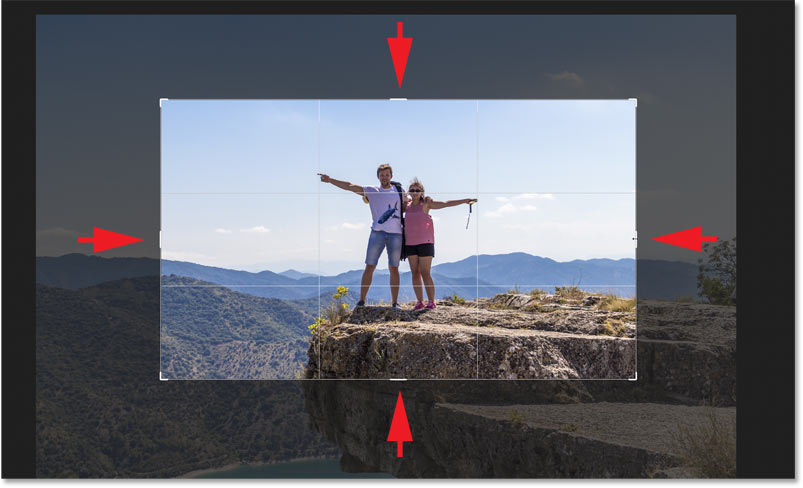
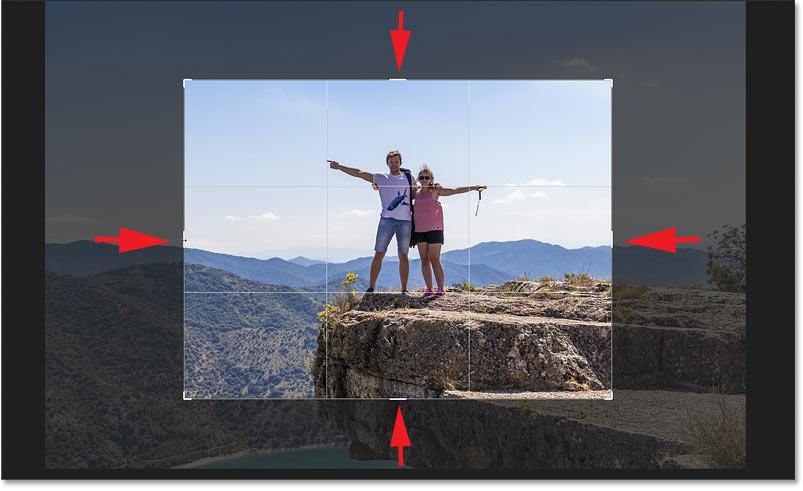
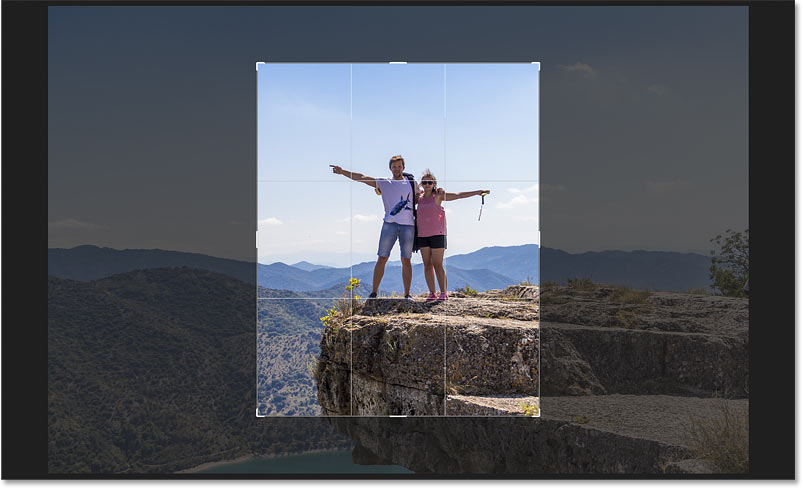
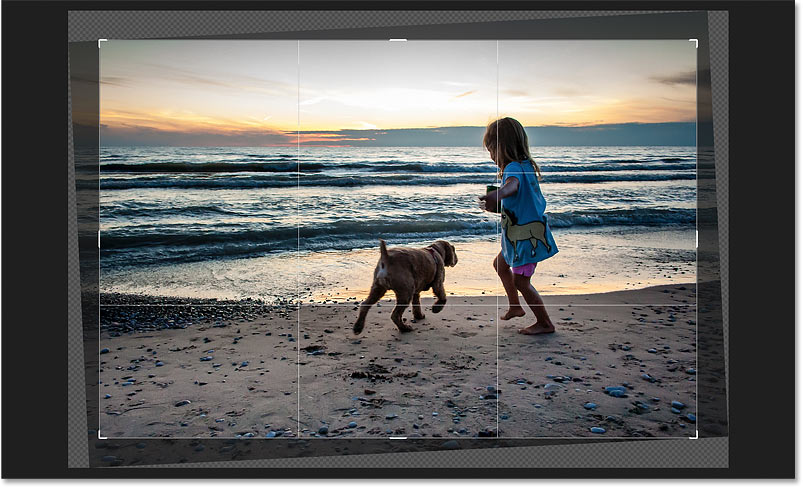
And then I'll resize my crop border by dragging the meridian handle downward. I'll hold Alt (Win) / Choice (Mac) every bit I drag to resize the border from its centre:
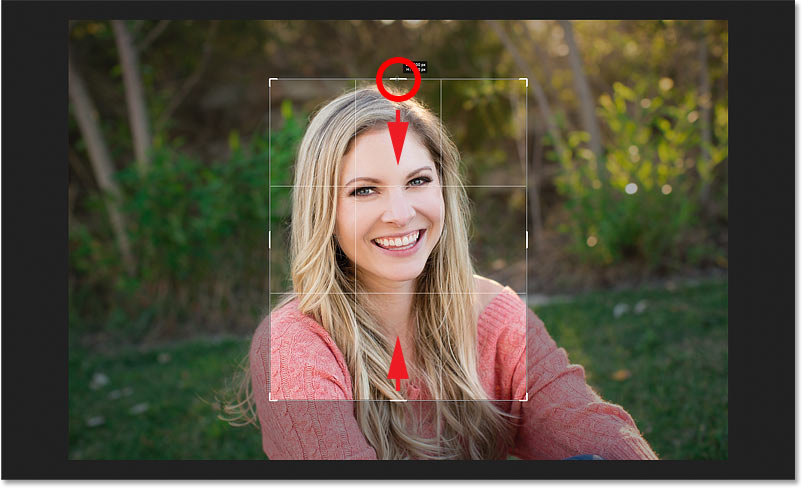
Resizing the ingather edge.
To ingather the image, I'll press Enter (Win) / Return (Mac) on my keyboard:

The initial 8 10 10 ingather.
Deleting the cropped pixels
So far, and then practiced. But at present that I've cropped the paradigm, what if I desire to modify the crop? For example, let'due south say I want to change its orientation from portrait to landscape.
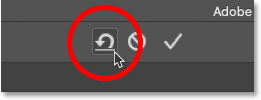
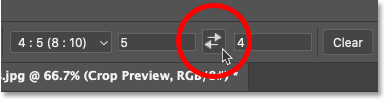
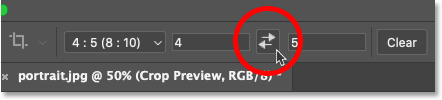
I'll become upward to the Options Bar and I'll swap the aspect ratio past clicking the swap icon:
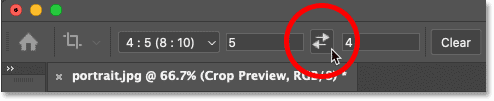
Swapping the width and meridian of the aspect ratio.
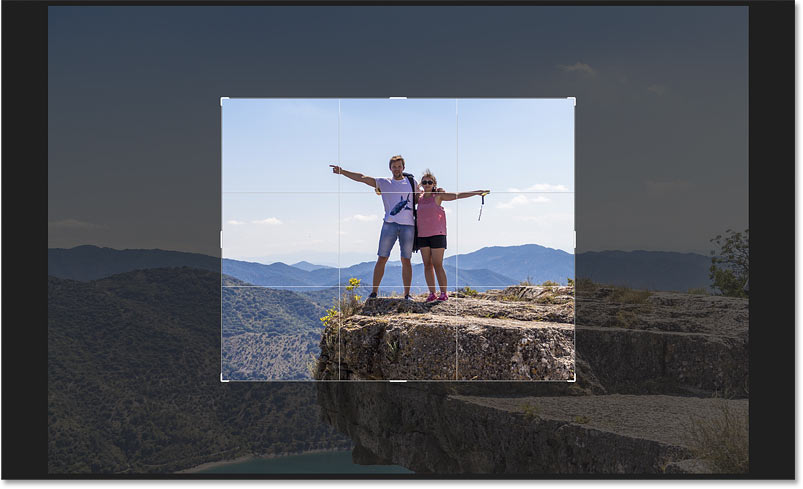
And Photoshop over again places the ingather border around the epitome:
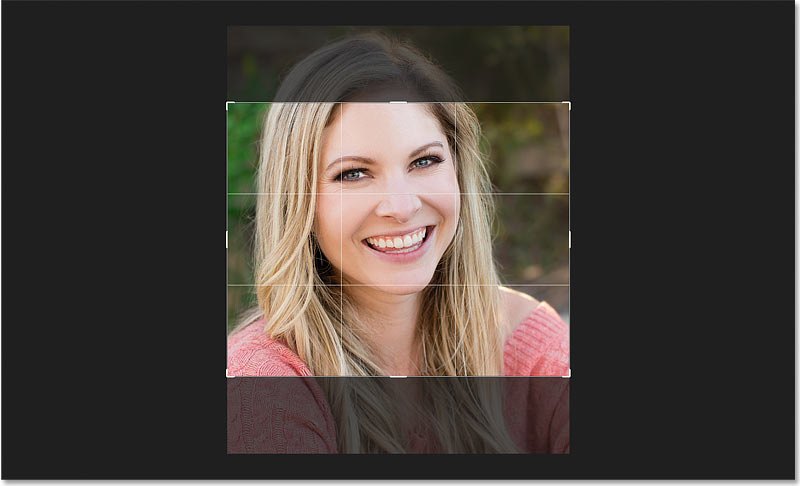
The cropping border reappears.
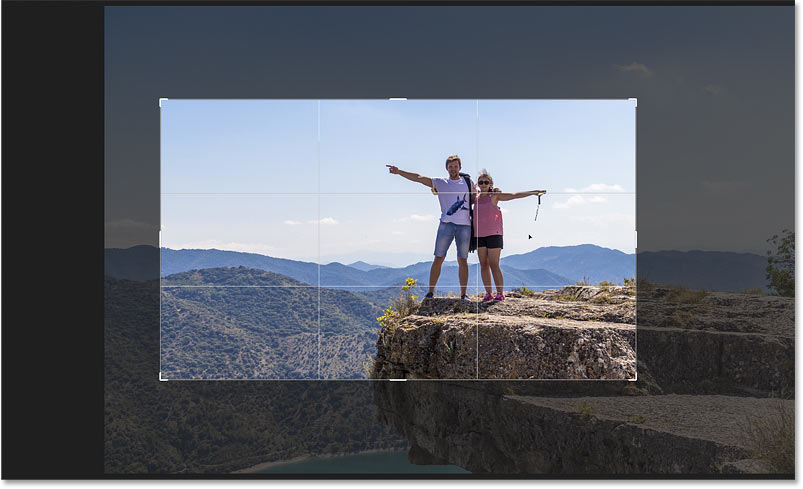
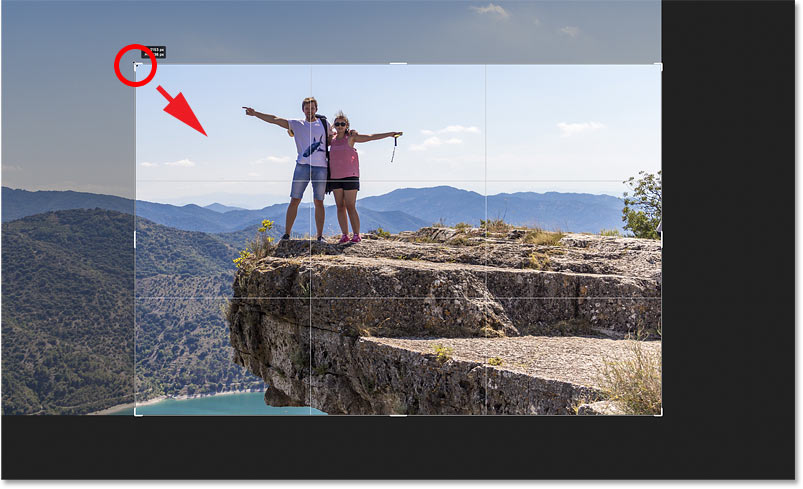
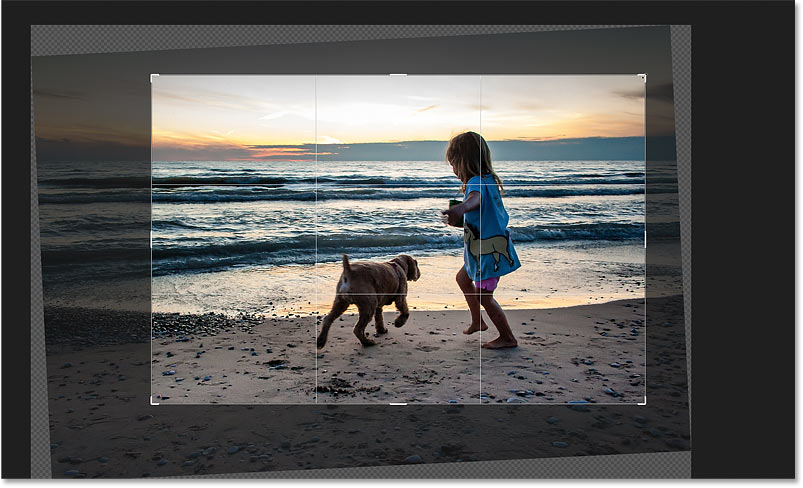
I don't desire the image to be cropped in so close, so I'll drag the handles outward to bring back more of the background:
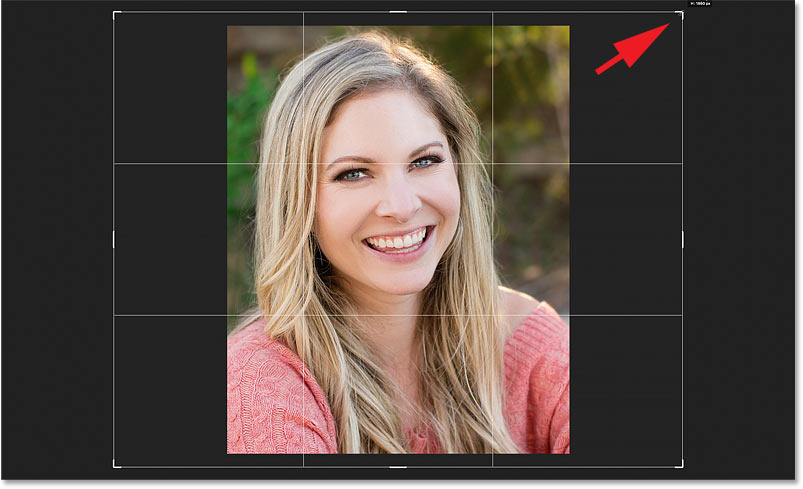
Resizing the border afterward the initial ingather.
But when I release my mouse button, instead of revealing more of the image, Photoshop fills the surrounding area with white:
The area effectually the original ingather is filled with white.
The reason is that when I made my original ingather, Photoshop deleted the surrounding pixels. And so now that those areas are missing, Photoshop is filling them with my current Background colour, which by default is white.
The current Foreground and Background colors are found in the toolbar. The Background color is the bottom right swatch:
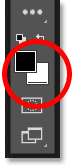
The toolbar showing the current Background colour.
The Delete Cropped Pixels option
And the reason why Photoshop deleted those pixels is considering the Delete Cropped Pixels selection in the Options Bar was turned on, which it is by default:
The Delete Cropped Pixels option.
Canceling the ingather and reverting the prototype
Let'due south look at a better manner to work. I'll cancel the crop by clicking the Cancel button in the Options Bar:
Clicking the Cancel push button.
And and then I'll revert the image back to its original size by going upward to the File menu and choosing Revert:
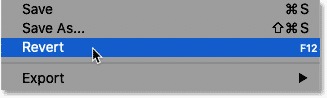
Going to File > Revert.
This restores all of those missing pixels:
The image has been restored.
I'll swap the aspect ratio back to Portrait fashion:
Swapping the aspect ratio from Mural to Portrait.
And so I'll drag the handles to resize the border, but like I did earlier:
Resizing the ingather border.
Turning "Delete Cropped Pixels" off
But this time, before I actually crop the image, I'll plow the Delete Cropped Pixels option off past deselecting it:
Unchecking the Delete Cropped Pixels choice.
Then I'll take the crop by pressing Enter (Win) / Return (Mac). And and then far, everything looks the same as it did earlier:
Cropping the image again every bit an 8 x 10 portrait.
But sentry what happens if I try to resize the ingather. I'll bandy the attribute ratio back to Landscape way:
Swapping the aspect ratio from Portrait to Landscape orientation.
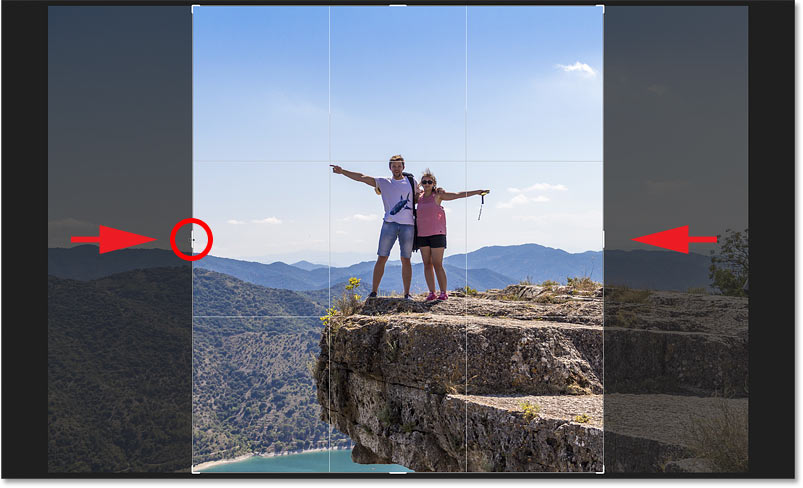
And at present nosotros meet something very different. The entire image reappears, every bit if it was never cropped at all. That's because when Delete Cropped Pixels is turned off, Photoshop just hides the cropped surface area. No pixels are ever deleted:
All of the original pixels are however intact, even later on cropping the epitome.
I'll press and hold Alt (Win) / Option (Mac) equally I elevate a corner handle outward to resize the border to include more of the image:
Resizing the crop edge.
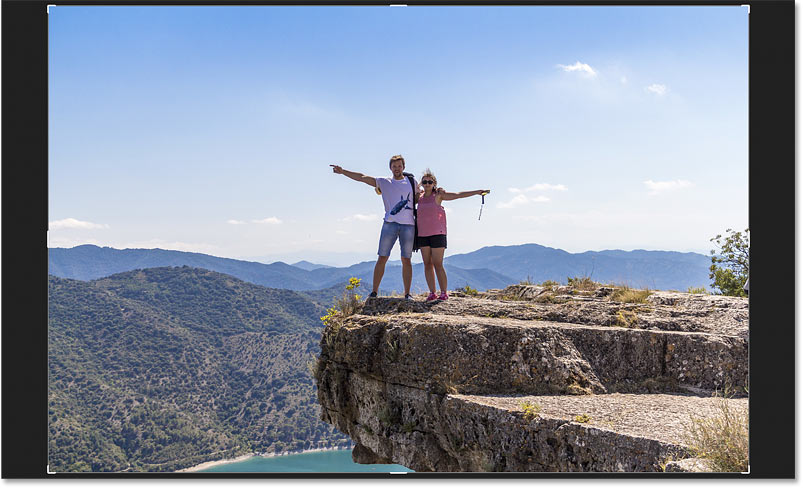
And so I'll take the crop past pressing Enter (Win) / Return (Mac) on my keyboard.
So by turning off Delete Cropped Pixels, I was able to ingather the image, adjust the crop edge, and then ingather the image once more without losing a single pixel:
The photo has been cropped non-destructively.
Repositioning the image inside the crop
Since Photoshop is but hiding the cropped area, another benefit of cropping non-destructively is that we tin really motility and reposition the image even later on we've cropped it.
Select the Motion Tool from the toolbar:
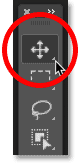
Selecting the Move Tool
So click and elevate on the image to movement it around until you're happy with the composition.
Here I've moved my field of study more towards the left:

Repositioning the paradigm within the crop.
How to restore the unabridged image after cropping it
Finally, if you lot cropped your image with Delete Cropped Pixels turned off, you tin restore the unabridged paradigm at whatever time by going upwards to the Image menu and choosing Reveal All:
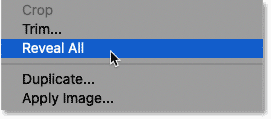
Going to Prototype > Reveal All.
And there we take it! In this lesson, we took our first look at how to straighten images using the Ingather Tool. In the side by side lesson, I show you an even better way to rotate and straighten images!
Yous can spring to any of the other lessons in this Cropping Images in Photoshop series. Or visit my Photoshop Basics section for more topics!
Source: https://www.photoshopessentials.com/basics/how-to-crop-images-photoshop-cc/
Posted by: rosalesyourem35.blogspot.com
0 Response to "How To Cut An Image Along Lines In Photoshop"
Post a Comment